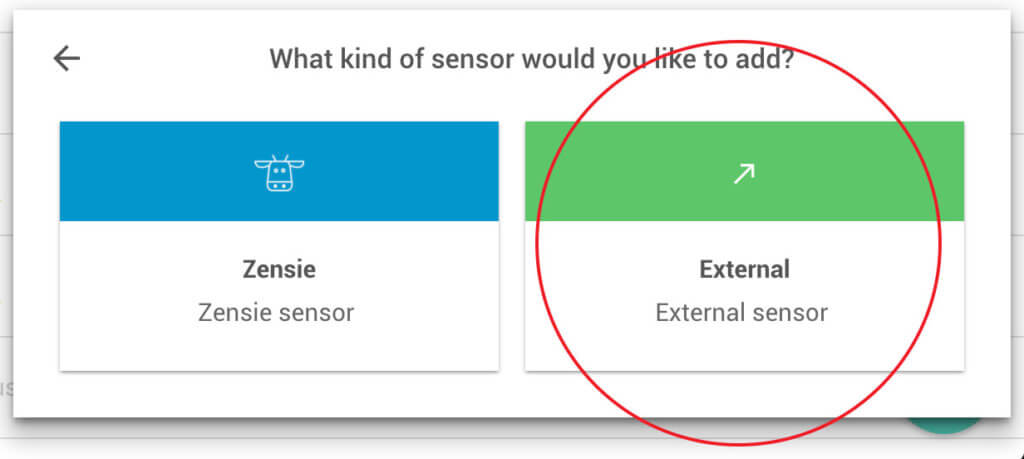
The first step is creating import checks. An import check contains all the data of a sensor and creates an endpoint to which values can be sent. Import checks can be created by navigating to the sensor page. In the right corner, a new sensor can be added by clicking on Add new sensor, Sensor, and External Sensor.
We fill in the name, select the sensor type, and click Create.
Sensor types
Sensor types contain the definition of how data is formatted and should be displayed. A sensor type contains information such as the metric + unit (e.g. Temperature = oC), data types, and expected JSON values. Read here on how to create your own sensor type
Sending data to an import check
The last step is sending data to the API. After saving the check, we see the settings page. Here the endpoint is shown with an example call.
We can do a post to:
https://api.30mhz.com/api/ingest/organization/www.30mhz.com
With these values (values change based on import check and sensor type):
[
  {
  "checkId": "import_check_id",
  "timestamp": "A valid ISO 8601 DateTime format value with an explicitly set timezone value (e.g. 2017-01-17T19:23:02Z, 2017-01-17T19:23:02+06:45).",
  "data":
    {
      "temp": "double",
      "hum": "double"
    },
  "updateData": true,
  "status": "ok || fail",
  "error": "custom error text message"
  }
]
Set the optional property “updateData” to false if you’d like to create another event at the same timestamp as an existing event for the given checkId.
If “updateData” is not set it defaults to true and the incoming data will update any existing event at the given timestamp for the given checkId. Multiple events for the same checkId at the same timestamp are aggregated when they are retrieved.
Notice that we are sending the values inside an array. We can send multiple sensor values (multiple import checks) in one call:
[{import_check_1...},{import_check_2...},{etc...}]
API Keys
Make sure you add your API key to the Authorization header: find out how to generate and use API keys.